
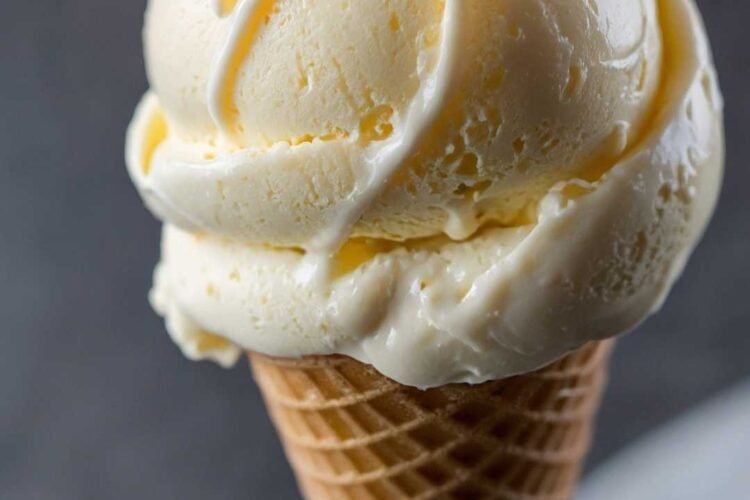
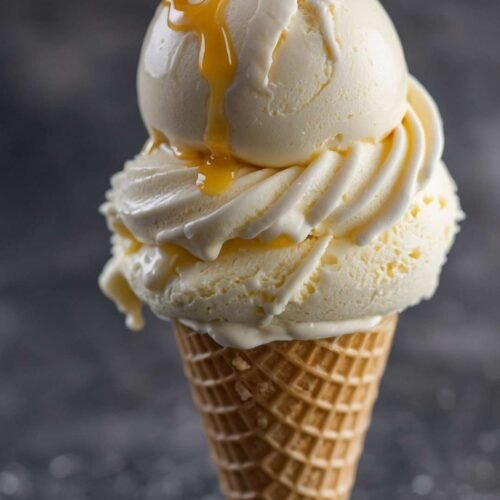
Ah, vanilla ice cream. A classic dessert that never goes out of style. It’s creamy, sweet, and perfectly versatile. The great thing about vanilla ice cream is that it can be paired with so many things!
Imagine scooping it on top of a warm brownie. Or serving it alongside a slice of apple pie. Drizzled with chocolate syrup, sprinkled with nuts, or blended into a milkshake, it shines in every role. You can even elevate it with fresh fruits like strawberries, bananas, or a tangy raspberry compote. Each choice brings its own flavor profile, allowing vanilla ice cream to adapt and complement discussions at every table.
Introduction to Vanilla Ice Cream

You’ll Also Like These Recipes
Vanilla ice cream does not merely exist as a dessert; it stands as a testament to culinary comfort. Its simplicity catches the attention of all ages, making it a staple in freezers worldwide. But what makes it so adored?
In this article, we will discover what vanilla ice cream is, how it tastes, and why you should love it. We’ll delve into the ingredients and explore a step-by-step guide on how to make it at home. Additionally, we will provide tips for success, nutritional information, storage advice, and potential substitutes. By the end, you’ll have a comprehensive understanding of this delightful treat.
What Is Vanilla Ice Cream?
Vanilla ice cream is a frozen dessert made from a mixture of cream, sugar, and various ingredients to establish flavor. While we often think of vanilla extract as its main flavor, its essence comes from the vanilla bean, which gives it that classic aromatic quality. To put it simply, it’s a creamy and sweet indulgence, perfect for any occasion.
How Does It Taste?
The moment you scoop a spoon into vanilla ice cream, you encounter that creamy texture that glides across your palate. It’s sweet, but not overwhelmingly so. The subtle notes of vanilla provide warmth and comfort, making each bite reminiscent of childhood days. The richness of the cream balances beautifully with the sugar to create an experience that feels both indulgent and familiar.
Why You’ll Love This?
You might wonder why this isn’t just another dessert. Vanilla ice cream connects to nostalgia, often heralding summers and celebrations. It pairs effortlessly with countless desserts, and its flavor acts as a canvas for creativity. Plus, the simple pleasure of making it at home is thoroughly rewarding.
Ingredients
When it comes to making vanilla ice cream at home, quality ingredients matter. Here’s what you’ll need:
- 1 cup rich heavy cream
- ½ cup fine granulated sugar
- ¼ teaspoon sea salt (a new addition to subtly balance sweetness and enhance flavor)
- 1 teaspoon orange zest (optional but adds a light citrusy note that brightens the custard)
- 1 cup full-fat whole milk
- 2 teaspoons pure vanilla extract
- 4 large egg yolks

Step-by-Step Directions
Getting started on your vanilla ice cream is straightforward. Just follow these steps.
Step 1: Prepare the Base
In a medium saucepan, combine the heavy cream, milk, and sugar. Heat over medium heat, stirring constantly until the sugar is completely dissolved. This is the foundation of your ice cream, so make sure everything melds well.
Step 2: Temper the Egg Yolks
In a separate bowl, whisk the egg yolks until they turn pale yellow. Gradually pour in about a cup of the warm cream mixture, stirring constantly. This process is known as tempering. It ensures your egg yolks won’t scramble when added to the saucepan.
Step 3: Cook the Mixture
Pour the tempered egg yolks back into the saucepan with the remaining cream mixture. Stir constantly over low heat until the mixture thickens slightly and coats the back of a spoon. It should reach about 170°F. Keep an eye on it!
Step 4: Strain and Flavor
Once thickened, remove the saucepan from heat. Strain the mixture through a fine-mesh sieve into a clean bowl to remove any bits of cooked egg. Stir in the vanilla extract and orange zest. Let the mixture cool at room temperature for a bit.
Step 5: Chill the Mixture
Cover the bowl and place it in the refrigerator for at least 4 hours, or overnight if possible. This chilling step is essential for the flavors to develop.
Step 6: Churn the Ice Cream
After chilling, pour the mixture into your ice cream maker and churn according to the manufacturer’s instructions. It typically takes about 20-30 minutes to reach a soft-serve consistency.
Step 7: Freeze
Transfer the churned ice cream into an airtight container. To achieve a firmer texture, freeze it for at least 4 hours. Now you’re ready to indulge!
Tips on Making Vanilla Ice Cream
Creating the perfect batch of vanilla ice cream involves a few best practices. Here are some tips to enhance your experience:
Use Fresh Ingredients: Fresh dairy and high-quality vanilla extract result in a more flavorful ice cream. Seek out pure vanilla extract to really bring out the flavor.
Don’t Rush the Chilling Process: Patience pays off. Allowing the mixture to chill ensures that the flavors mingle wonderfully.
Watch the Temperature: Avoid overheating the cream and egg mixture; you want to achieve a silky base without cooking the eggs.
Freeze Your Container: Pre-chilling your storage container can help the ice cream freeze more evenly.
Experiment with Flavors: Once you master vanilla, feel free to explore other additions, such as mint or chocolate chips.
Nutrition Information
While indulging in vanilla ice cream, it’s important to consider its nutritional content. Here’s a rough breakdown per serving:

Keep in mind these values can vary based on specific brands and quantities used.
How Do You Store This Vanilla Ice Cream?
Storage is straightforward. Place your homemade vanilla ice cream in an airtight container. To prevent ice crystals from forming on the surface, press a piece of plastic wrap directly onto the ice cream before sealing the container. Store it in the freezer for up to a month for the best flavor and texture.

What Other Substitutes Can You Use in Vanilla Ice Cream?
If you want to switch things up, here are some excellent substitutes:
Almond Milk: Swap out whole milk for almond milk for a nutty flavor. It can give a pleasant twist while being lower in calories.
Coconut Milk: For a dairy-free option, use coconut milk. This offers a tropical taste and creamy texture.
Greek Yogurt: For added protein and a tangy flavor, substitute some cream with Greek yogurt.
Sweetener Variants: Consider using honey or maple syrup instead of granulated sugar for a different flavor profile.
Flavor Extracts: Besides vanilla, try natural flavor extracts like mint or almond for a unique spin.
Vanilla Ice Cream Recipe
Equipment
- Medium saucepan, Airtight container
Ingredients
- 1 cup rich heavy cream
- ½ cup fine granulated sugar
- ¼ teaspoon sea salt
- 1 teaspoon orange zest
- 1 cup full-fat whole milk
- 2 teaspoons pure vanilla extract
- 4 large egg yolks
Instructions
Step 1: Prepare the Base
- In a medium saucepan, combine the heavy cream, milk, and sugar. Heat over medium heat, stirring constantly until the sugar is completely dissolved. This is the foundation of your ice cream, so make sure everything melds well.
Step 2: Temper the Egg Yolks
- In a separate bowl, whisk the egg yolks until they turn pale yellow. Gradually pour in about a cup of the warm cream mixture, stirring constantly. This process is known as tempering. It ensures your egg yolks won’t scramble when added to the saucepan.
Step 3: Cook the Mixture
- Pour the tempered egg yolks back into the saucepan with the remaining cream mixture. Stir constantly over low heat until the mixture thickens slightly and coats the back of a spoon. It should reach about 170°F. Keep an eye on it!
Step 4: Strain and Flavor
- Once thickened, remove the saucepan from heat. Strain the mixture through a fine-mesh sieve into a clean bowl to remove any bits of cooked egg. Stir in the vanilla extract and orange zest. Let the mixture cool at room temperature for a bit.
Step 5: Chill the Mixture
- Cover the bowl and place it in the refrigerator for at least 4 hours, or overnight if possible. This chilling step is essential for the flavors to develop.
Step 6: Churn the Ice Cream
- After chilling, pour the mixture into your ice cream maker and churn according to the manufacturer’s instructions. It typically takes about 20-30 minutes to reach a soft-serve consistency.
Step 7: Freeze
- Transfer the churned ice cream into an airtight container. To achieve a firmer texture, freeze it for at least 4 hours. Now you’re ready to indulge!
Notes
Nutrition
Frequently Asked Questions
Can I make vanilla ice cream without an ice cream maker?
Yes! You can make vanilla ice cream without a machine. After chilling your base, pour it into a shallow dish. Freeze for 30-45 minutes, then stir vigorously with a whisk or fork to break up any ice crystals. Repeat every 30 minutes for a few hours until your ice cream is creamy.
How can I ensure my vanilla ice cream is creamy?
The key to creamy ice cream lies in the churning process. Churn the mixture until it’s at a soft-serve consistency before freezing. The goal is to incorporate air and maintain a smooth texture.
How long will homemade vanilla ice cream last?
Homemade vanilla ice cream can last up to a month in the freezer. For the best taste and texture, consume it within this timeframe.
Can I use a different type of sweetener?
Absolutely! You can experiment with honey, agave syrup, or even artificial sweeteners. Just be cautious to use suitable amounts, as different sweeteners vary in sweetness levels.
What’s the difference between vanilla bean ice cream and vanilla ice cream?
Vanilla bean ice cream is made using the actual vanilla bean pods, incorporating seeds for a speckled appearance and intense flavor. Traditional vanilla ice cream typically uses vanilla extract for flavor.
How can I make vanilla ice cream without eggs?
You can create an egg-free version by using heavy cream, sweetened condensed milk, and vanilla extract. Simply mix, churn, and freeze!
Conclusion
As I reflect on this delightful journey into the world of vanilla ice cream, I’m convinced it has a special place in our hearts—and our freezers. This simple dessert provides joy, nostalgia, and endless pairing possibilities.
Whether you craft it at home or savor store-bought versions, the charm of vanilla ice cream is undeniable. Try making it yourself, and experience that creamy bliss fresh from your kitchen. You’ll never look at dessert the same way again. So, grab your ice cream maker and get started today. Trust me, the reward is well worth the effort!
You’ll Also Like These Latest Post
Rob Roy Scotch Whisky Recipe Vermouth Whiskey Cocktail Recipe