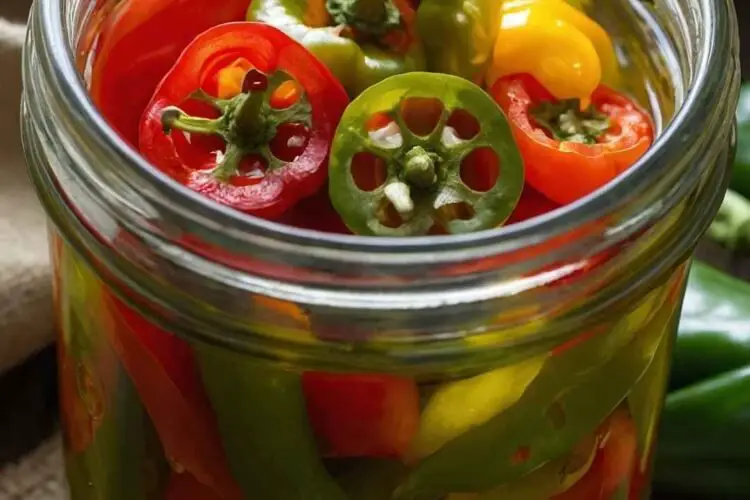
When I think of pickled peppers, I can’t help but smile. These tangy delights are perfect for spicing up a variety of dishes. But what can you really pair them with? Let me take you back to the summer barbecue gatherings at my friend’s place. Picture this: freshly grilled burgers and hot dogs, cooling in the sun, and a spread of vibrant sides. That’s where pickled peppers come in. They offer a zesty crunch that complements everything from sandwiches to salads.
Imagine a bowl of creamy chicken salad resting on a picnic table, begging for a touch of punch. Or consider a simple pasta dish wanting a little leap. With the addition of pickled peppers, everything transforms. You can toss them into a bright couscous salad or layer them on a cheese platter. They add flavor to tacos, nachos, and even your morning scrambled eggs. Trust me; their versatility knows no bounds.
You’ll Also Like These Recipes
Why Pickled Peppers Are a Must-Try
Now, why should you dive into making pickled peppers? First off, it’s a fantastic way to use up a bounty of fresh peppers. If you’re lucky enough to have a garden, you might find yourself with extra produce at the height of summer. While I’ve enjoyed fresh peppers in salads and stir-fries, I learned that pickling them extends their shelf life and flavors.
Making your own pickled peppers is simple and rewarding. The crunch meets the piquancy, creating a culinary balance that excites the palate. Not only does it preserve the peppers, but pickling also infuses them with complex flavors thanks to the brine. Let me tell you, I was surprised at just how easy it was to make a vibrant batch!
Over the years, I’ve experimented with numerous recipes and techniques. Each method tends to deliver unique flavors. By crafting my version, I ensure I use fresh ingredients, allowing the pickled peppers to shine. In fact, it all starts with just a handful of common ingredients you probably already have on hand.
The Ingredients You’ll Need
3–4 cups fresh chili peppers, any variety, chopped as preferred
1 cup distilled white vinegar
1 cup water
4 cloves garlic, roughly chopped
2 tablespoons granulated sugar
2 tablespoons pickling salt
1 teaspoon mustard seeds (for a warm, slightly tangy depth)
3 tablespoons whole black peppercorns
1 small bay leaf (optional, adds subtle aromatic complexity)
These ingredients create a harmonious mix that allows the peppers’ flavors to pop. Let’s take a moment to appreciate what each one brings to the party.
Peppers
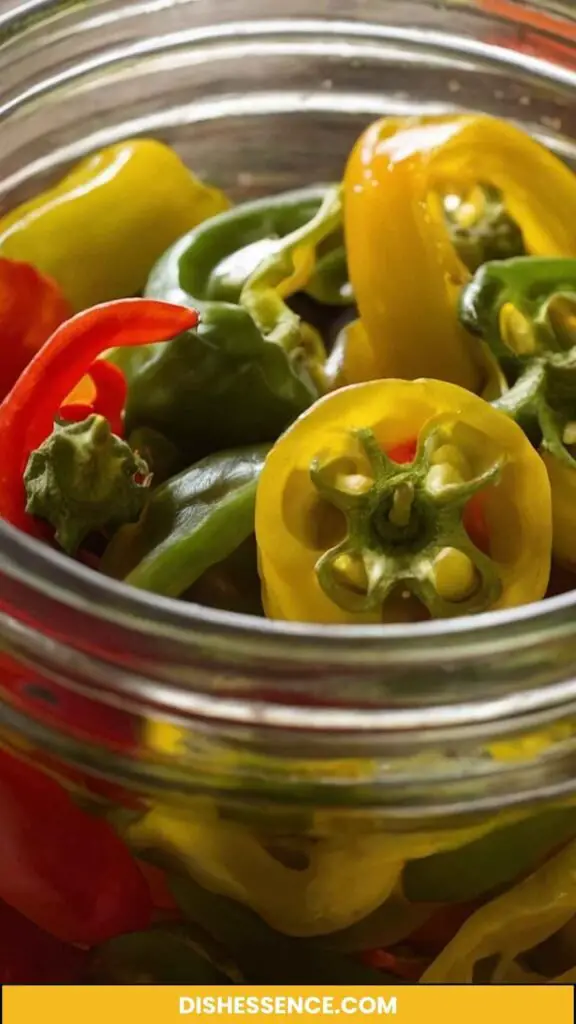
I often opt for a mix, playing with varieties from sweet bell peppers to fiery jalapeños. Each one contributes its unique flair, balancing heat with sweetness. You can choose the level of spice that suits your taste buds.
Vinegar
Distilled white vinegar serves as the backbone of the brine. It’s sharp and cleanses the palate. When I first tried experimenting with apple cider vinegar, I found it slightly fruity, giving a different profile. Whichever you select, the acid is essential to that iconic pickled flavor.
Garlic
Ah, garlic. It’s the secret MVP of many dishes. When I chop it up and add it to the mix, the pungency mellows during the pickling process. It turns sweet and tangy, creating a delightful undertone.
Sugar and Salt
Sugar and salt work together in this brine to build depth and balance. They ensure the flavors are well-rounded. I recommend adjusting these to your taste as you go.
Mustard Seeds and Peppercorns
Both of these ingredients lend warmth and texture. Mustard seeds release a delightful tang, while whole black peppercorns add just a hint of spice. Together, they elevate the pickling experience.
Bay Leaf
This optional ingredient serves as a subtle boost to the flavor profile. I use it selectively. It’s not a must, but it can elevate your pickled peppers to something special.
How to Make Pickled Peppers
Now, let’s get down to business. Here’s how to make them from start to finish.
Step 1: Prepare Your Peppers
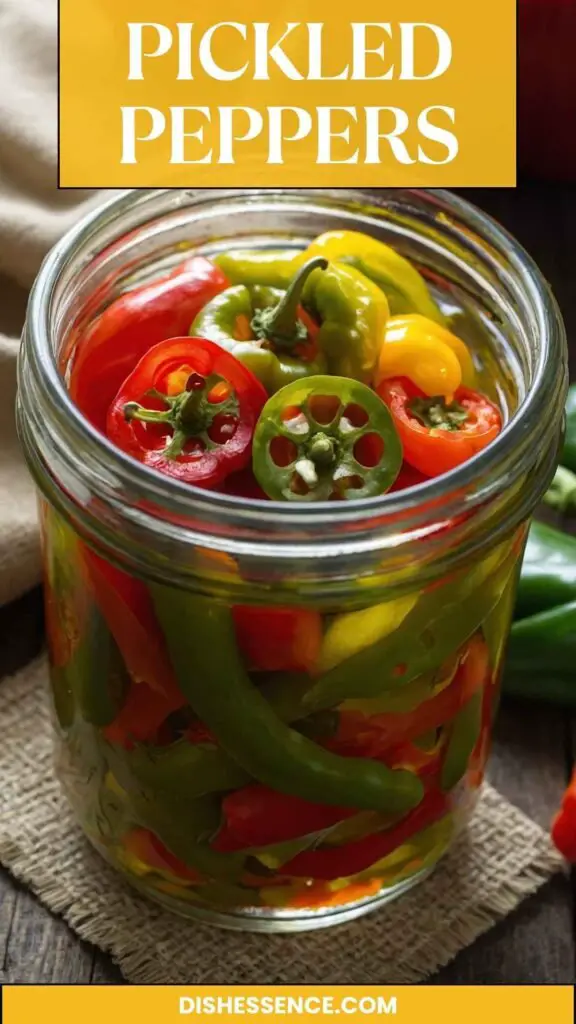
Start by washing your peppers thoroughly. Depending on your preference, you can chop them into rings or leave them whole. Personally, I enjoy slicing them into rings for easy snacking and convenient use in recipes. Set them aside while we prepare the brine.
Step 2: Make the Pickling Brine
In a medium saucepan, combine the vinegar, water, garlic, sugar, pickling salt, mustard seeds, peppercorns, and bay leaf. Bring the mixture to a gentle boil over medium heat. Stir until the sugar and salt dissolve completely. This step usually only takes a few minutes but talk about the aroma filling your kitchen!
Step 3: Pack the Jars
While the brine is boiling, I like to prepare my jars. Use clean, sterilized jars to ensure freshness. Carefully pack your prepared peppers into the jars, allowing some room for the brine.
Step 4: Fill the Jars with Brine
Once the brine has boiled, remove it from heat. Pour the hot brine over the peppers in the jars, ensuring they are completely submerged. Leave about half an inch of space at the top. This step transitions their flavors beautifully.
Step 5: Seal and Cool
Tightly seal the jars and let them cool to room temperature. After they’re cool, I recommend refrigerating them. They’ll be perfect to enjoy in a few days. However, for the best taste, let them sit for at least a week. Patience yields a more robust flavor.
Step 6: Enjoy!
After waiting, dig into your pickled peppers. Add them to salads, sandwiches, or munch on them as a snack. The possibilities are endless!
Recipe Notes
Fresh Chili Peppers
The star of this recipe! Choose peppers based on your spice preference. You might find yourself enjoying the sweet flavor of bell peppers or the heat of serranos.
Distilled White Vinegar
This acts as the acid that preserves the peppers in the brining process. It has a clean taste that lets other flavors shine.
Garlic
I prefer rough chopping my garlic to allow its pungent flavor to permeate the brine. Feel free to experiment with roasted garlic for a milder taste.
Sugar
Adjust sugar to manage the heat of your peppers. A pinch can counter the spiciness nicely.
Pickling Salt
Regular table salt can add cloudiness to brine because of additives. Pickling salt is pure and dissolves better.
Mustard Seeds and Black Peppercorns
These spices can be adjusted to your taste. Feel free to experiment with other spices like coriander or dill for different flavors.
Recipe Variations
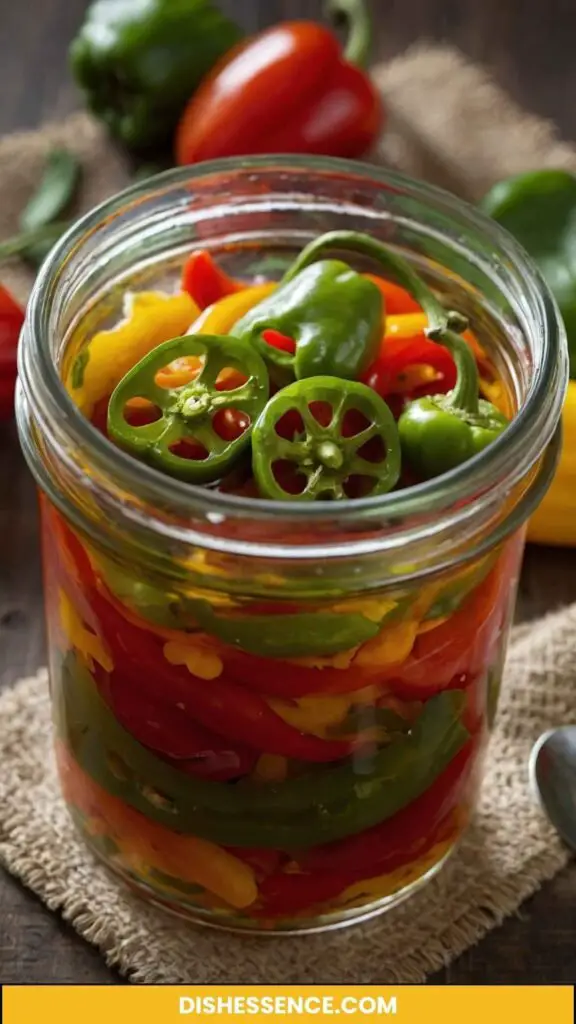
While the basic recipe is fantastic on its own, I encourage you to play around. Consider these variations to jazz things up:
1. Spicy Pickle: Add some crushed red pepper flakes for an extra kick.
2. Sweet and Tangy: Replace half the sugar with honey or maple syrup.
3. Herb-Infused: Toss in fresh herbs like dill or thyme for a fragrant twist.
4. Vegetable Medley: Incorporate other pickling vegetables such as carrots and cauliflower.
5. Fermented Style: Try fermenting your mix using a fermentation lid for a tangy, probiotic-rich option.
6. Garlic Lovers: Double the garlic for a bolder flavor punch!
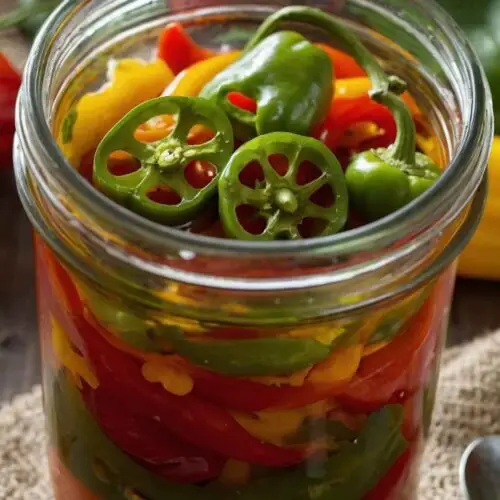
Pickled Peppers Recipe
Equipment
- Large bowl, jar
Ingredients
- 3 –4 cups fresh chili peppers
- 1 cup distilled white vinegar
- 1 cup water
- 4 cloves garlic roughly chopped
- 2 tablespoons granulated sugar
- 2 tablespoons pickling salt
- 1 teaspoon mustard seeds
- 3 tablespoons whole black peppercorns
- 1 small bay leaf
Instructions
Step 1: Prepare Your Peppers
- Start by washing your peppers thoroughly. Depending on your preference, you can chop them into rings or leave them whole. Personally, I enjoy slicing them into rings for easy snacking and convenient use in recipes. Set them aside while we prepare the brine.
Step 2: Make the Pickling Brine
- In a medium saucepan, combine the vinegar, water, garlic, sugar, pickling salt, mustard seeds, peppercorns, and bay leaf. Bring the mixture to a gentle boil over medium heat. Stir until the sugar and salt dissolve completely. This step usually only takes a few minutes but talk about the aroma filling your kitchen!
Step 3: Pack the Jars
- While the brine is boiling, I like to prepare my jars. Use clean, sterilized jars to ensure freshness. Carefully pack your prepared peppers into the jars, allowing some room for the brine.
Step 4: Fill the Jars with Brine
- Once the brine has boiled, remove it from heat. Pour the hot brine over the peppers in the jars, ensuring they are completely submerged. Leave about half an inch of space at the top. This step transitions their flavors beautifully.
Step 5: Seal and Cool
- Tightly seal the jars and let them cool to room temperature. After they’re cool, I recommend refrigerating them. They’ll be perfect to enjoy in a few days. However, for the best taste, let them sit for at least a week. Patience yields a more robust flavor.
Step 6: Enjoy!
- After waiting, dig into your pickled peppers. Add them to salads, sandwiches, or munch on them as a snack. The possibilities are endless!
Notes
Fresh Chili Peppers
The star of this recipe! Choose peppers based on your spice preference. You might find yourself enjoying the sweet flavor of bell peppers or the heat of serranos.Distilled White Vinegar
This acts as the acid that preserves the peppers in the brining process. It has a clean taste that lets other flavors shine.Garlic
I prefer rough chopping my garlic to allow its pungent flavor to permeate the brine. Feel free to experiment with roasted garlic for a milder taste.Sugar
Adjust sugar to manage the heat of your peppers. A pinch can counter the spiciness nicely.Pickling Salt
Regular table salt can add cloudiness to brine because of additives. Pickling salt is pure and dissolves better.Mustard Seeds and Black Peppercorns
These spices can be adjusted to your taste. Feel free to experiment with other spices like coriander or dill for different flavors.Nutrition
FAQs About Pickled Peppers
Q1: Can I use frozen peppers for pickling?
Yes, but fresh peppers generally yield better results. Freezing can change the texture. If you do use frozen, ensure they’re thawed and drained before pickling.
Q2: How long do pickled peppers last?
Homemade pickled peppers can last several months in the refrigerator. Always check for signs of spoilage before using.
Q3: What’s the best way to store pickled peppers?
Store them in airtight jars in the refrigerator, ensuring they stay submerged in brine.
Q4: Can I use other types of vinegar for pickling?
Absolutely! Apple cider vinegar or red wine vinegar can offer unique flavor profiles. Just remember that the acidity level should generally be similar.
Q5: How can I tell if my pickled peppers have gone bad?
Indicators include an off smell, discoloration, or mold. If you see any of these signs, it’s best to err on the side of caution and discard them.
Q6: Can pickled peppers be canned?
Yes, pickled peppers can be canned for shelf-stable preservation. However, the process requires proper canning techniques to ensure safety.
Conclusion
Pickled peppers are not just a side dish; they are versatile flavor enhancers that can elevate your kitchen creations. With accessibility and ease, they offer a chance to explore creativity in the kitchen. Whether you pile them high on a sandwich or toss them into a vibrant pasta salad, they deliver every time.
So gather your fresh peppers and give this straightforward recipe a try. You won’t regret adding a jar of these beauties to your fridge. And trust me, their crunchy, tangy bite will soon become a culinary necessity. Happy pickling!

