Pickled Turnips Recipe
Before diving into the intricacies of your pickled turnips recipe, let's chat about what you can enjoy them with. They are anything but lonely on the plate. Jazz up your sandwich game with a crunch of pickled turnip to elevate your turkey or veggie options.
Equipment
- saucepan
Ingredients
- 2 large turnips approximately 2 pounds, peeled and sliced into ½-inch-thick sticks
- 1 cup distilled white vinegar
- ¼ cup coarse kosher salt avoid regular table salt
- Dried red chili peppers or red pepper flakes optional, adjust to taste
- 3 cups purified distilled water or filtered tap water
- 1 small beet peeled and cut into ½-inch-thick sticks
- 1 teaspoon whole black peppercorns adds subtle aromatic warmth
- 1 bay leaf optional, for a gentle herbal note
Instructions
Step 1: Prepare Your Turnips
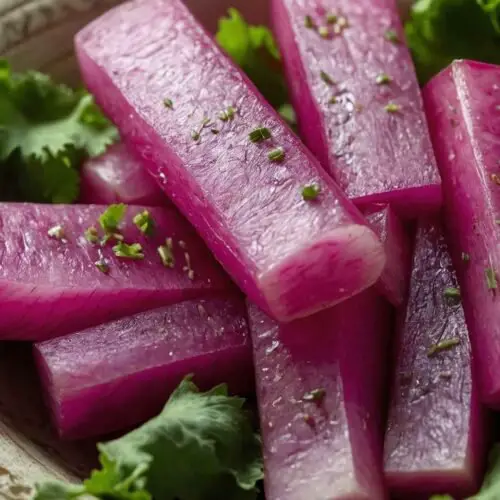
- First things first, peel the turnips. Resist the urge to skip this step; a naked turnip is crucial for achieving peak flavor when pickled. Cut them into ½-inch-thick sticks. They should resemble little soldiers standing at attention, waiting to be bathed in that briny goodness.
Step 2: Make the Brine
- In a medium-sized saucepan, pour the vinegar, water, and bring it to a gentle simmer over medium heat. Add the kosher salt and stir until it dissolves completely. This creates the brine, the heart of your pickle. Smell the sharpness of the vinegar as it hits your olfactory senses; you’re well on your way!
- Pro Tip: Allow the brine to cool slightly before pouring it over your turnips.
Step 3: Combine Ingredients
- In a clean glass jar, layer the turnip sticks and beet sticks. As you go, sprinkle in the black peppercorns and red pepper flakes if desired. If you chose to utilize bay leaves for an infusion of flavor, add those now. Feel free to get creative with layering for an attractive presentation.
Step 4: Pour the Brine
- Once your brine has cooled, pour it over the turnips and beets. Make sure every piece is submerged. If it looks like they’re floating like a boat on the sea, don’t stress. Just press them down gently to make sure they’re encased in that tangy bath.
Step 5: Seal and Store
- Seal the jar tightly. Allow the mixture to cool to room temperature before placing it in the refrigerator. The pickles should start tasting tangy in about 24 hours, but for the best flavor, let them sit for at least three days.
Notes
- Store your pickled turnips in a clean, airtight jar to keep them crunchy and fresh.
- Remember to adjust the heat level based on your preferences. If you prefer more spice, don’t be shy to add more chili flakes.
- Play around with the ratio of vinegar to water based on your taste.
- For an extra flavor boost, consider adding garlic or ginger to the brine!
Nutrition
Calories: 25kcalCarbohydrates: 6gProtein: 1gSodium: 500mgFiber: 1gSugar: 1g
Tried this recipe?Let us know how it was!